
A location is one physical store. Each location has its own stock, prices (if you want them different), registers and reports.
Add a location
- Go to Settings → Business locations → Add.
- Enter the store name as customers know it, the address, phone and opening hours.
- Pick the invoice layout and the default tax group for that store.
Add registers
Each checkout counter is a register with its own cash drawer and its own shift close.
- Counter includes one register per store, Full Shift up to three, and you can add more for a small monthly fee.
- Name registers so staff recognise them: “Front counter”, “Lottery window”, “Back register”.
Printers and drawers
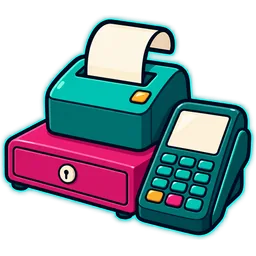
Connect the receipt printer to the register’s computer or tablet and choose it in the register settings. A cash drawer plugged into the printer opens when a cash sale is paid. See the hardware guide.
Several stores?
Add each one the same way. On Multi-Store you share one price book across locations and can move stock between them.
Next: add staff and PINs.